myairbags.com
 888-779-9029
Few car problems are as frustrating as a locked or jammed seatbelt. Whether stuck after a sudden stop, refusing to retract properly, or locked up following an accident, a malfunctioning seatbelt is inconvenient and potentially dangerous. This comprehensive guide, a reliable resource, will walk you through practical solutions to unlock your seatbelt and determine when professional repair is necessary, providing you with reassurance and confidence.
At MyAirbags, a trusted name in the industry, we've helped thousands of vehicle owners restore their safety systems to proper working condition. With over 15 years of experience in OEM seatbelt repair, we understand the mechanisms that cause these issues and how to resolve them effectively, ensuring you're in good hands.
Step 1: Identify Why the Seatbelt is Locked
Before attempting any repairs, it's essential to understand why your seatbelt is locked in the first place. Several mechanisms can cause a seatbelt to become stuck:
Normal Locking Functions
Seatbelts are designed to lock under certain conditions:
- Sudden stops or hard braking - The inertia-sensitive locking mechanism activates
- Vehicle tilting - Many seatbelts lock when the vehicle is on an incline
- Quick pulling - Rapidly pulling the belt triggers the locking mechanism
These are safety features, not malfunctions. Try slowly pulling the belt after allowing it to retract fully.
Post-Accident Locking
If your vehicle has been in an accident, even a minor one:
- The pretensioner may have deployed (a one-time use device that tightens the belt during a collision)
- The retractor might be damaged or jammed from impact forces
- The airbag control module may have locked the seatbelt system as a safety measure
Physical Obstructions
Check for:
- Twisted belt webbing
- Foreign objects caught in the retractor or buckle
- Debris jamming the mechanism
- Damage to the plastic trim or guides
Step 2: Try Simple DIY Solutions
For basic seatbelt jams, try these straightforward fixes:
Reset the Retractor Mechanism
- Allow the seatbelt to retract as much as possible
- Pull the belt out slowly and evenly until you reach the full extension
- Let it retract slowly, guiding it to prevent twisting
- Repeat this process 2-3 times
Check Vehicle Position
- Park on a flat, level surface
- This neutralizes tilt sensors that might be causing the lock
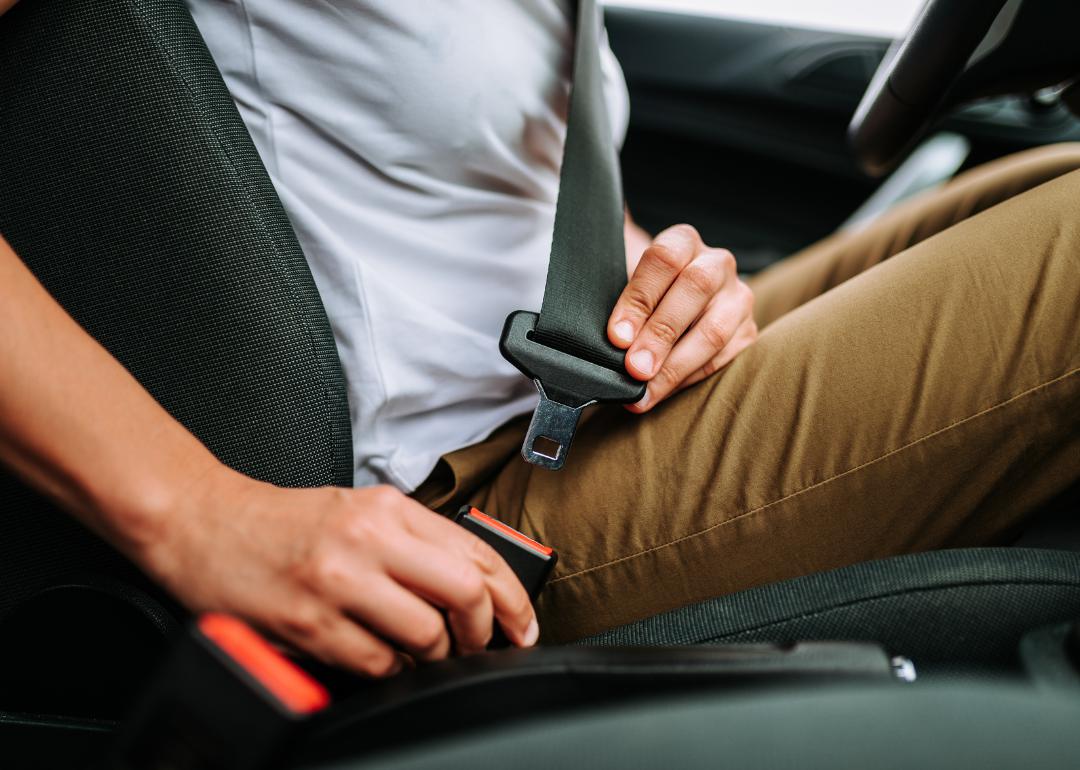
Inspect and Clean the Buckle
- Examine the buckle for visible debris or damage
- Use compressed air to clean out any dirt or crumbs
- Try inserting and removing the metal tongue several times
Resolve Webbing Twists
- Pull out the belt as far as it will go
- Manually untwist any visible twists in the webbing
- Guide the belt back in slowly while maintaining tension
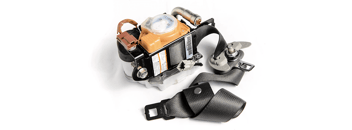
Step 3: Inspect the Retractor and Pretensioner
If basic solutions don't work, you may need to inspect the retractor mechanism:
Locate the Retractor
The retractor is typically hidden behind interior trim panels:
- Lower B-pillar trim (between front and rear doors)
- Under the rear seat
- In the seat structure itself
Safety Warning: Before removing any trim panels or components, disconnect the vehicle's battery and wait at least 15 minutes. This helps prevent accidental airbag deployment.
Check for Mechanical Issues
Once you've safely accessed the retractor:
- Look for visible damage to the plastic housing
- Check if the belt is wound correctly on the spool
- Inspect for foreign objects that might be jamming the mechanism
Pretensioner Inspection
Critical Safety Warning: Do NOT attempt to disassemble or repair a pretensioner. These contain explosive charges similar to airbags and require professional handling.
Signs the pretensioner has deployed:
- The seatbelt won't extend at all
- The retractor appears damaged or deformed
- The vehicle has been in an accident
- The airbag warning light is illuminated on the dashboard
If the pretensioner has been deployed, it cannot be reset and requires professional replacement.
Step 4: Decide Between DIY Repair or Professional Help
Not all seatbelt issues can or should be fixed at home. Here's how to decide:
When DIY is Appropriate
- Simple mechanical jams with no accident history
- Minor webbing issues like twists or slight fraying
- Fundamental retractor problems where the mechanism is accessible
When to Seek Professional Help
Professional repair is necessary when:
- The vehicle has been in an accident
- The pretensioner has deployed
- The airbag light is illuminated on the dashboard
- The retractor is seriously damaged
- The webbing is torn, cut, or severely frayed
- DIY attempts have failed to resolve the issue
Professional Seatbelt Repair Service
Instead of expensive dealership replacements, consider MyAirbags' OEM seatbelt repair service. Our process:
- You remove and send us your faulty seatbelt
- Our technicians restore it to OEM specifications
- We rebuild the retractor mechanism and replace any damaged components
- If needed, we can replace the seatbelt webbing
- You receive your fully functional seatbelt back, typically within 24 hours of receipt
This service saves 70-80% compared to dealership replacement costs while maintaining original safety standards.
Step 5: Prevent Future Seatbelt Issues
Proper maintenance can prevent many seatbelt problems:
Regular Cleaning
- Wipe down seatbelt webbing with mild soap and water
- Clean buckles with compressed air to remove debris
- Avoid using harsh chemicals that can damage webbing fibers
Proper Usage
- Don't slam doors on seatbelt webbing
- Avoid letting the belt retract too quickly
- Guide the belt back into the retractor when possible
- Keep small objects and food away from buckle mechanisms
Post-Accident Inspection
After any collision, even minor ones:
- Have all restraint systems professionally inspected
- Check for proper retraction and extension
- Listen for unusual sounds in the retractor
- If the airbags deployed, ensure the airbag module is reset along with seatbelt inspection
Heed Warning Signs
Don't ignore:
- Warning lights on the dashboard
- Unusual resistance when pulling the belt
- Clicking or grinding sounds
- Visible fraying or damage to the webbing
Cost Comparison: DIY vs. Professional Repair vs. Replacement
Understanding your options helps make the best financial decision:
|
Solution |
Approximate Cost |
Pros |
Cons |
|
DIY Fix |
$0-$20 |
Inexpensive, quick |
Limited to simple issues, potential safety risks |
|
MyAirbags Repair |
$65-$150 |
Professional restoration, OEM quality, warranty |
Requires removing and shipping of the part |
|
Dealer Replacement |
$250-$800+ |
OEM new part |
Expensive, sometimes unnecessary |
Conclusion
A jammed seatbelt doesn't always require expensive replacement. Many issues can be resolved with simple troubleshooting and DIY solutions. However, when safety is concerned, it's important to recognize when professional help is needed—particularly after accidents or when pretensioners have deployed. This responsibility and safety consciousness are crucial for your well-being and that of your passengers.
Remember that seatbelts are critical safety devices designed to save lives. Ensuring they function properly should be a top priority for any vehicle owner. Following the steps outlined in this guide, you can effectively address most seatbelt issues and know when to seek professional assistance.
Need professional help with your stuck seatbelt? Learn how MyAirbags' repair service works, or contact our team for personalized assistance with your vehicle's safety systems