
How to Remove a Seat Belt (Safely)
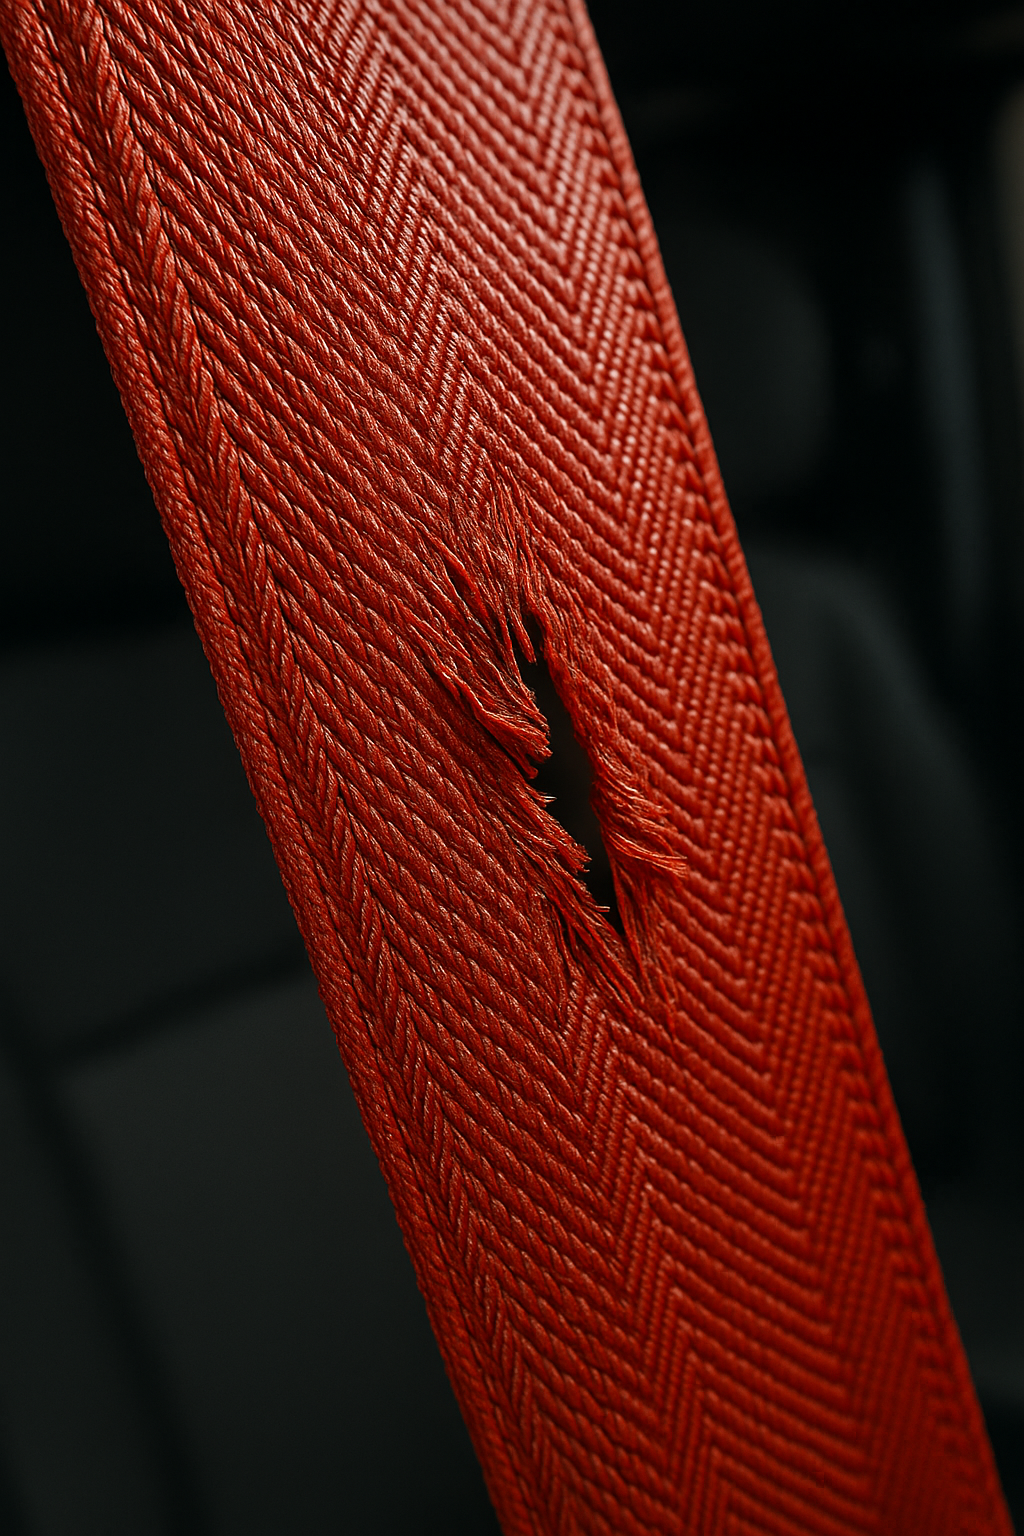
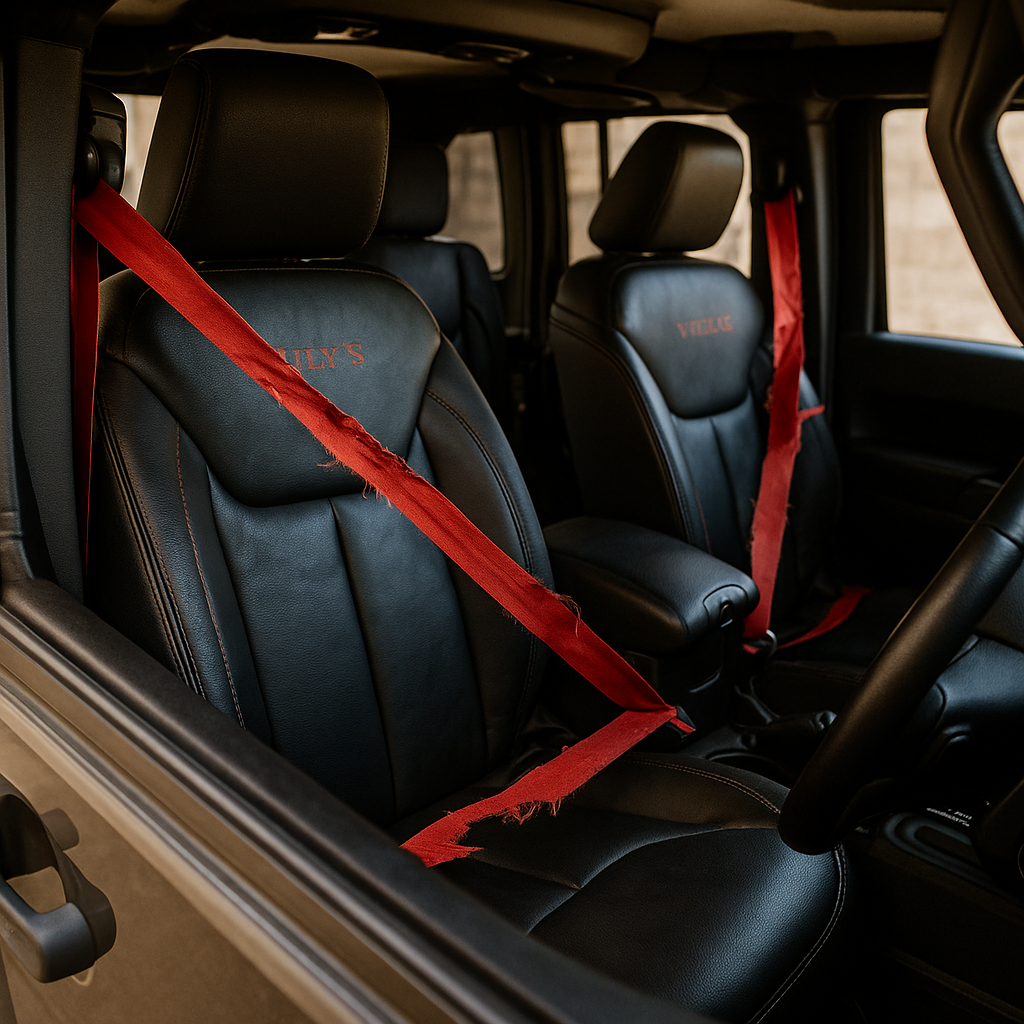
When a seat belt locks up after a minor accident, frays from daily use, or refuses to retract, you’re stuck with more than an inconvenience—you’ve got a safety-critical problem that can keep your dash lit up and your vehicle off the road. Dealerships often recommend full replacement assemblies (and full replacement prices), which can mean days of downtime and a big hit to the budget.
One-and-done solution: Remove. Ship. Reinstall.
MyAirbags repairs most seat belts in 1 business day and ships them back ready to bolt in—often at up to 80% less than new replacement parts. Start your repair today.
Tools You’ll Need to Remove the Seat Belt
-
Medium flathead screwdriver
-
Small flathead screwdriver
-
Phillips screwdriver
-
Ratchet
-
Ratchet extension (very helpful for tight spots)
-
Torx T50 bit (commonly used for upper bracket and retractor bolts)
-
18 mm socket (varies by vehicle)
-
Trim/clip removal tool (plastic—prevents marring and makes your life easier)
Note: Specific fastener sizes vary by make/model. The example below uses a T50; some vehicles use T45 on the lower anchor. Always verify on your vehicle and follow manufacturer torque specs during reinstallation.
Before You Start: Safety & Prep
-
Park on level ground, engage the parking brake, and open the doors to create working space.
-
Disconnect the battery (negative terminal) and wait ~1 minute before unplugging any seat‑belt connectors. Pretensioners are part of the SRS (airbag) system—treat them with care.
-
Keep a parts tray or labeled bags to secure bolts and clips for reinstallation.
-
If your vehicle has weatherstrips or sill plates covering trim, remove them gently to avoid damage.
-
This is an intermediate DIY. If you’re unsure at any point, it’s okay to stop and ask a professional.
Step‑by‑Step: How to Remove a Front Seat Belt
The example below mirrors a common layout similar to many SUVs (the video demo was on a Jeep). Your exact trim and clip count may differ, but the overall flow is the same.
1) Create Room
-
Slide the seat fully forward and tip the seatback forward to open space behind the B‑pillar area (where the upper belt passes through).
2) Remove Interior Trim Panels
-
From the rear door opening, gently pry the side/B‑pillar trim panel using the plastic clip tool.
-
Work slowly. Don’t rush—clips can break (they’re replaceable at most auto parts stores).
-
If present, pop off the lower sill panel or kick panel to expose the belt routing and hardware underneath.
-
Feed the seat belt webbing through the trim slit as needed so you can remove the panel fully.
3) Remove the Upper Shoulder Bracket
-
Pry off the upper bracket cover to expose the bolt.
-
Use a T50 Torx to remove the upper shoulder bolt.
-
Place the bolt somewhere safe.
4) Remove the Lower Anchor
-
Unbolt the anchor bracket at the bottom of the belt webbing.
-
Commonly Torx T45/T50 or 18 mm—verify yours.
-
Secure the hardware for later.
5) Disconnect the Pretensioner
-
With the battery already disconnected, locate the pretensioner connector.
-
Many are press‑to‑release: press the tab, pull straight back, and unplug.
-
Set the connector aside—avoid dirt and moisture.
6) Remove the Retractor
-
Use a T50 Torx to remove the retractor bolt(s).
-
Slide the retractor up and out of the pillar cavity and guide the webbing free.
-
That’s it—your seat belt assembly is out and ready to ship.
Packaging Tips (So Reinstall Is a Breeze Later)
-
Label the assembly (e.g., “Front Left”) so you don’t mix sides.
-
Include the upper cover and any unique spacers or bushings that came off with the belt.
-
Do not cut the webbing or pry open the retractor. MyAirbags only needs the intact assembly.
-
Wrap the assembly in bubble wrap and box it snugly to prevent damage in transit.
Why MyAirbags?
-
Safety‑first repairs. Seat belts and pretensioners are SRS devices; they must perform correctly.
-
Speed you can plan around. Repairs are typically completed in 1 business day, then shipped back.
-
Value without compromise. Up to 80% savings vs. buying new replacement parts—without the wait.
-
Real solutions for real failures. Locked retractors, blown pretensioners, slow or stuck return, damaged webbing, or the need for re‑webbing—we handle it.
-
No excuses. No shortcuts. Your belt returns ready to reinstall and test.
The MyAirbags Process (Simple & Fast)
-
Remove your seat belt(s) using the guide above.
-
Ship your assembly to MyAirbags (include your contact info and return address).
-
Professional repair: your unit is inspected, repaired, and bench‑tested.
-
1‑Business‑Day Turnaround: we ship it right back to you.
-
Reinstall & test following the steps below
Get Shipping Instructions
Step‑by‑step packing & shipping guide for MyAirbags
Reinstalling Your Repaired Seat Belt (Overview)
Always follow your vehicle’s service manual for torque specs and trim order.
-
Position the retractor back into the B‑pillar and start the T50 bolt by hand to avoid cross‑threading; tighten to spec.
-
With the battery still disconnected, reconnect the pretensioner plug until it clicks and feels secure.
-
Reinstall the upper shoulder bracket (T50) and the lower anchor (often T45/T50/18 mm). Thread by hand first, then torque to spec.
-
Remove the temporary webbing clip (if used during shipping) only after all hardware is installed.
-
Route the webbing through the trim slit, then reinstall trim panels. Align tabs, ensure wiring is clear, and press clips in firmly.
-
Reconnect the battery, then test: pull the belt out/in, check latch and retraction, and verify no SRS warnings.
Case Example 1: Locked After a Minor Bump
A compact SUV came in with a locked front-left retractor and a tripped pretensioner after a parking‑lot tap. The owner removed the assembly at home, shipped it to MyAirbags, and received it back repaired the same week. Reinstalled in under an hour; SRS light off and the belt retracted like new.
FAQs
Q1: Do I really need to disconnect the battery before unplugging the belt?
Yes. Seat belt pretensioners are part of the SRS system. Disconnect the negative battery terminal and wait about 1 minute before unplugging any connectors.
Q2: What Torx size do I need?
Many vehicles use T50 for the upper bracket and retractor. Some use T45 for the lower anchor. Verify your sizes before starting.
Q3: My vehicle has different clips—what then?
That’s normal. Use a plastic clip tool and take your time. Replacement clips are inexpensive if one breaks.
Q4: Can I drive without the seat belt while it’s out for repair?
No. Don’t operate the vehicle without required restraints installed and functioning.
Q5: My SRS light came on during/after removal. Is that normal?
If the battery wasn’t disconnected or a connector was unplugged with power on, you may set a code. After reinstall, a scan tool may be needed to clear it.
Q6: Will MyAirbags replace my webbing if it’s frayed?
Yes—re‑webbing is available. Your seat belt is returned with strong, clean webbing and a fully serviced mechanism.
Q7: How long does the repair take?
Repairs are typically completed in 1 business day, then shipped back.
Q8: Is it cheaper to repair than to buy new?
Often, yes. Customers commonly see significant savings—up to 80% compared with new replacement parts.
Q9: Do I need special tools to reinstall?
Beyond basic hand tools, you’ll typically need Torx bits (often T50), a ratchet/extension, and possibly an 18 mm socket. Always check your vehicle’s service info.
Q10: Can MyAirbags service buckles and pretensioners too?
Yes. Seat belts, buckles, and pretensioners are all serviced so the system works together as intended.
Case Example 2: Frayed Webbing + Slow Return
A family sedan had frayed belt webbing and a sluggish return. The owner removed and shipped the assembly. MyAirbagsrepaired the mechanism and re‑webbed the belt. The refreshed unit retracted crisply on install, with no more snagging or slow roll‑up.
Wrap‑Up: Fix the Problem Right—the First Time
If your seat belt won’t retract, is locked, or the webbing is damaged, replacing the entire assembly isn’t your only option. With a handful of tools and a careful, step‑by‑step removal, you can have your belt out in under an afternoon, shipped to MyAirbags, and repaired in just 1 business day. Then it’s a straightforward reinstall—no excuses, no shortcuts.
Ready to go from stuck to safe?
Remove your belt, ship it to MyAirbags, and get back on the road with confidence—often at up to 80% less than buying new.
Handy Checklist
-
Car parked, brake on, doors open
-
Battery disconnected (wait ~1 minute)
-
Trim panels off, clips saved
-
Upper shoulder bolt removed (T50)
-
Lower anchor unbolted (T45/T50/18 mm)
-
Pretensioner unplugged
-
Retractor bolt(s) removed (T50), unit lifted out
-
Assembly labeled/packed and shipped to MyAirbags
-
On return: retractor installed, plugs reconnected (battery still disconnected)
-
Upper/lower bolts torqued to spec
-
Trim reinstalled, battery reconnected, function test complete

 myairbags.com
 888-779-9029

